

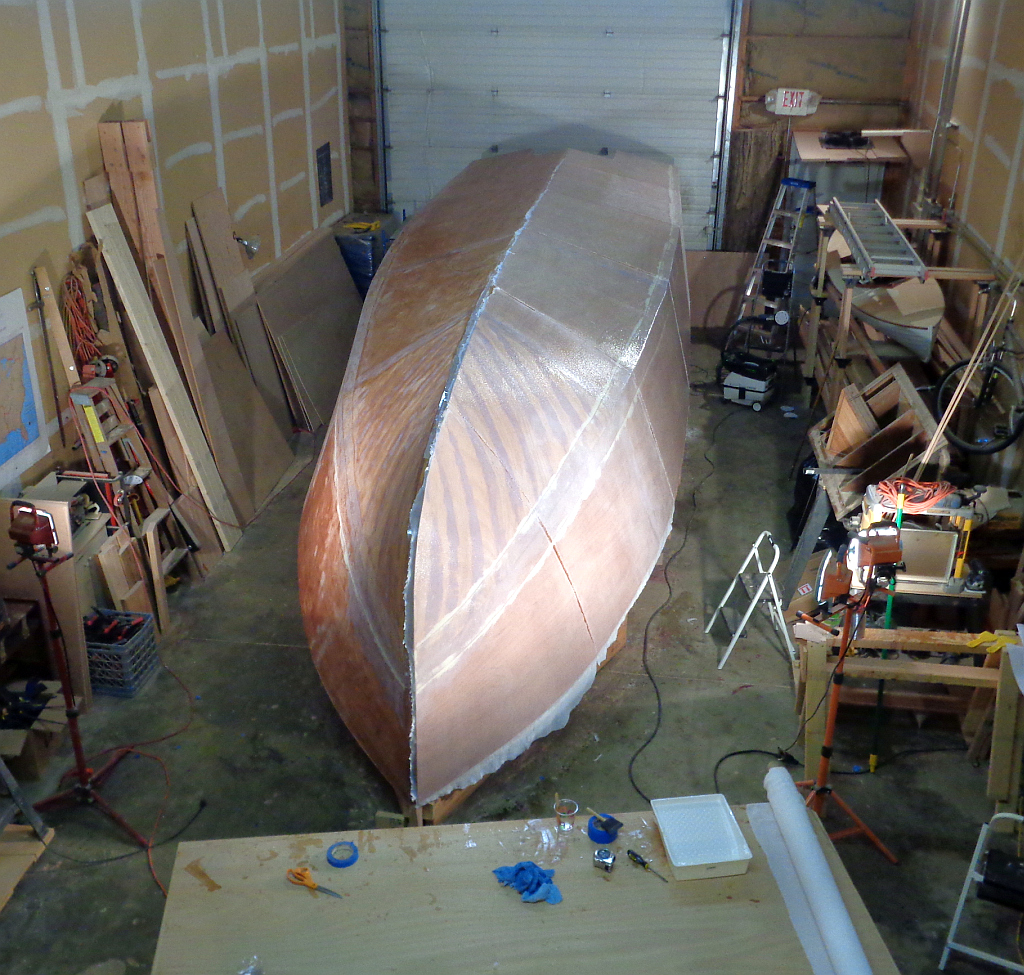
February 23, 2015 Hours spent building to date: 731
Half the boat is glassed and filled, and I have begun sanding the back panels in preparation for paint.
This part of the build is turning into a real marathon — I have worked 14 days in a row, although some days are only two or three hours. Did an overnight to New York to see the lavish and wonderfully performed revival of Leonard Bernstein’s “On the Town”, but was able to lay on a coat of epoxy on the way in and the next morning on the way back.
As I mentioned in a previous post, all this is to assure a chemical bond between all the layers that fill and eventually overlay the super-strong Xynole cloth. That is turning out to be five coats and probably a thin finish coat, so as the clock ticks and the temperature goes up and down, I am in and out of the shop at all hours. Ray and I are getting down the learning curve on the initial application of the cloth to the hull, so the next half should go faster.
Seems really, really strong and tough so far.
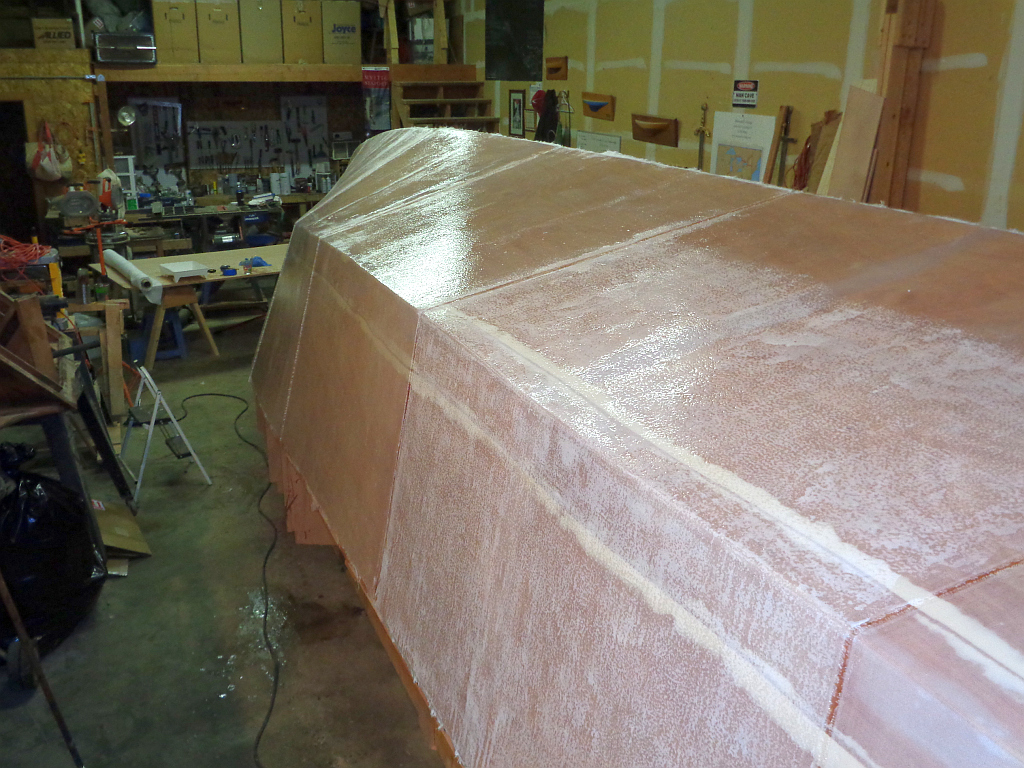
Started sanding the aft panels. Shame to spoil the shine, but they are too bumpy for paint as is.


I have had good to great results by flooding the “cloth”with “resin”covering with 4 to 10 mil poly,and squeegiing the surface smooth,a cheater vacume system,The edges of tape can be feathered out to a point where the only sanding is for bond,you peel back the poly[uv vapour barrier]and wow what a finish,but,I don’t want one side of your boat lighter than the other,for a tender perhaps?
LikeLike
West system has a little e-book on fairing and finishing. We did a variation using battens that were wrapped in packing tape. The 3/4″ square x 12 feet long battens were position on the shear and chine by hot gluing every foot to the hull a smaller 3/4″x 2″ piece that is perpendicular to the batten. The batten is hot glued to this with a small piece of 4 mm plywood. The batten is floating between all the high and low spots. Now comes the fun part! Fill using a trowl, press the fairing compound into the low spots under the fair curve of the batten. Remove the battens and voila! Now you have a set of control lines to screed your epoxy fairing compound over. Sanding is very minimal. My son has a short video of this process. Go to R2AK team windwaker. I also did a sketch but I don’t know how to upload it. Fairing is a very labor intense process but filling lows are better than sanding highs!
LikeLike
Thanks, Scott. I realized today that the lows just ain’t going away through sanding. The plywood is so flat that I think I can find the worst by scraping a longboard vertically chine to sheer much as you described with the battens. I will look for the book and video, too.
LikeLike
It is Catalog No. 002-740
Final Fairing & Finishing by west system.
LikeLike
How can I send a picture?
LikeLike
Pkessingeratyahoodotcom
LikeLike
Mycousin Kevin Steele had a business fairing hulls working on the bigger maga-yachts. He show us this technique for what he call tight skin. It just like how to screed a concrete patio but over a curved form. On areas that weren’t so critical like the bottom of the boat, we would fill a calking tube with the awl grip fairing compound and put a thin bead of it down and the just press the batten into it. We would put plastic saran wrap over the bead first then press the batten into it. Once cured, it would be sanded smooth. Now that you got these control lines, you can take a 1/4″ thick x 4″ aluminum flat bar between the two control lines. We would then butter the surface that was low between the control lines and then pull the aluminum flat bar at about a 45 degree angle pressing down on the control lines. It does take some practice for starting and finishing the pull. You might get some air bubbles but don’t worry as these can be filled later. There is a little work in setting up the battens but it sure beats sanding epoxy! I have never describe this technique in writing before. I hope it makes sense. Pictures speak a lot better then words. If this has helped pass it on.
Sent from my iPad
LikeLike