

In my past life, I would wake up in the middle of the night worrying about market research results, client presentations, whether John would get into college. Now I worry a lot about deck camber.
Decks have a curvature so they shed water (and look good) and the degree of curve is called “camber.” The curved beams that go under the deck change a lot in length and shape as the deck changes, but the camber should be pretty close to constant in adjoining beams or the decks won’t lay down right. You can’t achieve constant camber just drawing it out by curving a thin piece of wood. It doesn’t form a true arc and the ends are too flat.
There are very scary mathematical ways to plot out deck camber, but after days of study, I chose the simple “sticks and nails” method. If you put two nails at the ends of your deck beam measurement, join two sticks in a “V” at the height you want your beam, hold a pencil in the V and trace back and force, a perfect arc with constant camber should result. I learned this from the extraordinary boatbuilder Douglas Brooks http://www.amateurboatbuilding.com/articles/howto/glued_lapstrake/deck_jig.html
But it took me three times to get the camber right at station 5. Once my sticks were too short — they have to be twice the length of the beam, so I needed 14 feet of sticks. Once the sticks were too thin, and they wouldn’t hold the curve. I did it the third time, but had this giant contraption running clear across the shop.
Then I was asking Mark about camber at another area, and overnight he went to his computer, measured it out and sent me a drawing. I used his drawing on station 5 and it matched my “sticks” method perfectly. That’s the way to establish deck camber on the Olga 28 — 1-800-Mark.

The sticks and nails jig

Where you put the pencil

Nails and mark
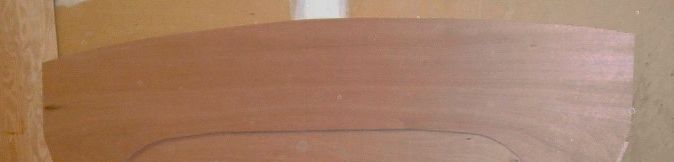
Lousy picture — nice curve

Doug’s catboat — now THAT’s deck camber!


Leave a comment