

April 18, 2015 Hours spent building to date: 943
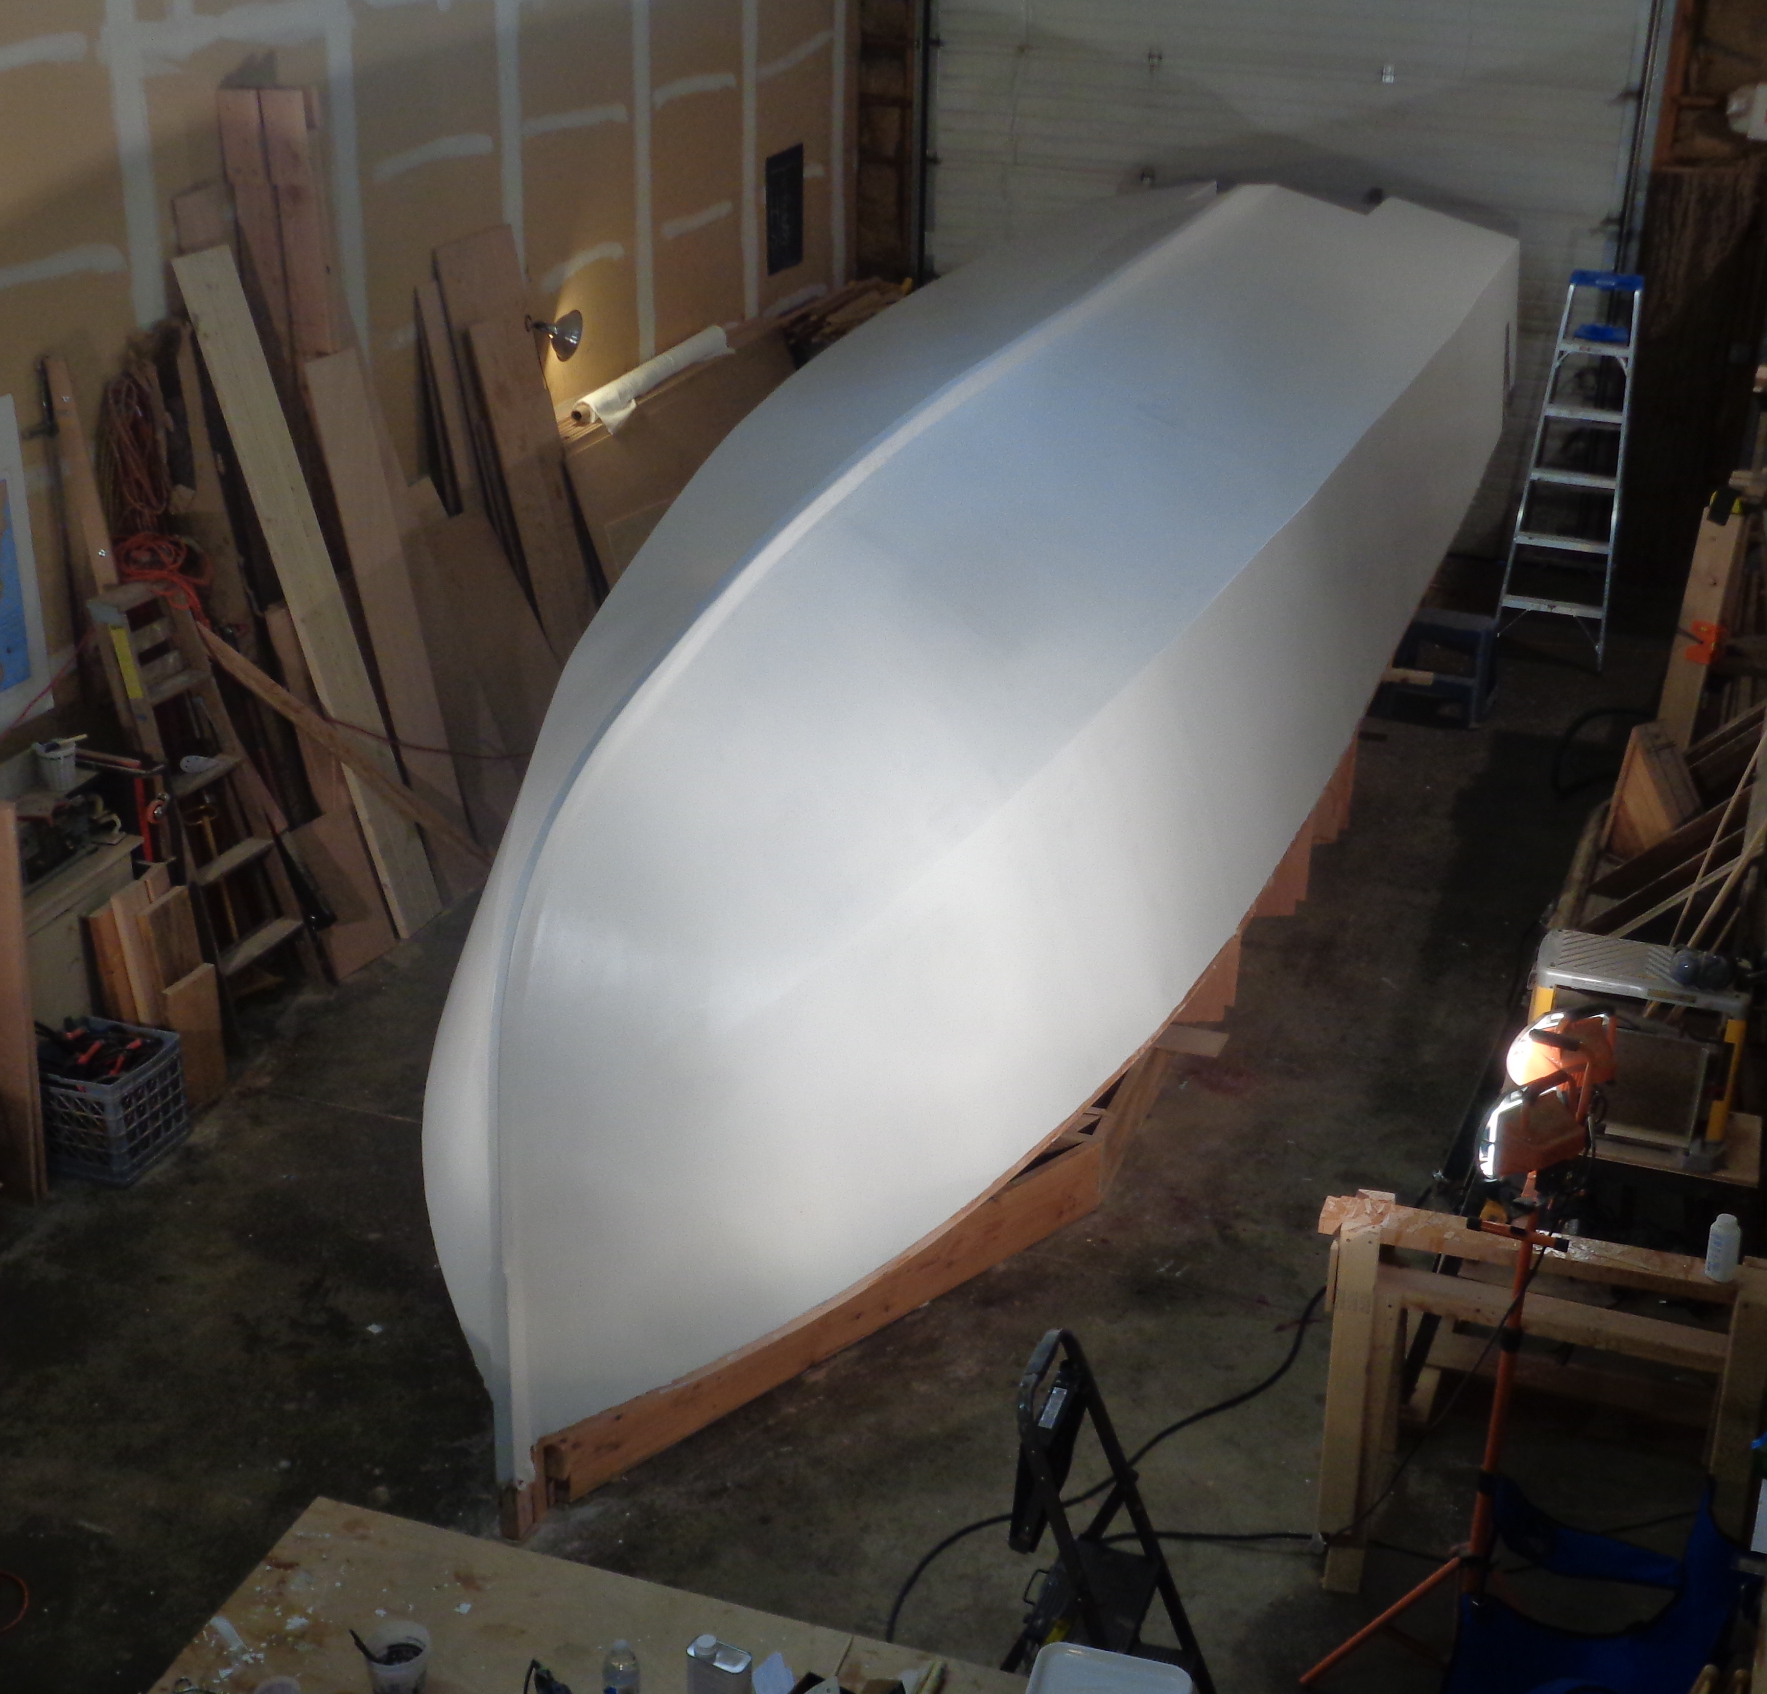
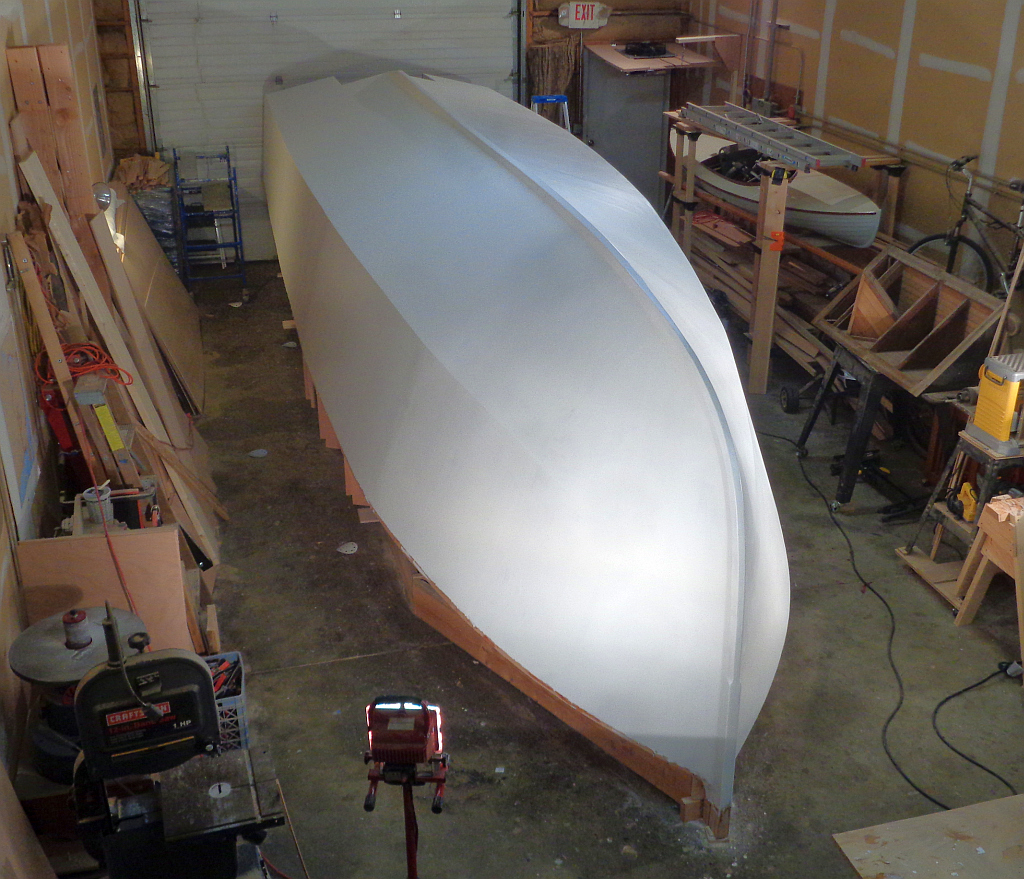
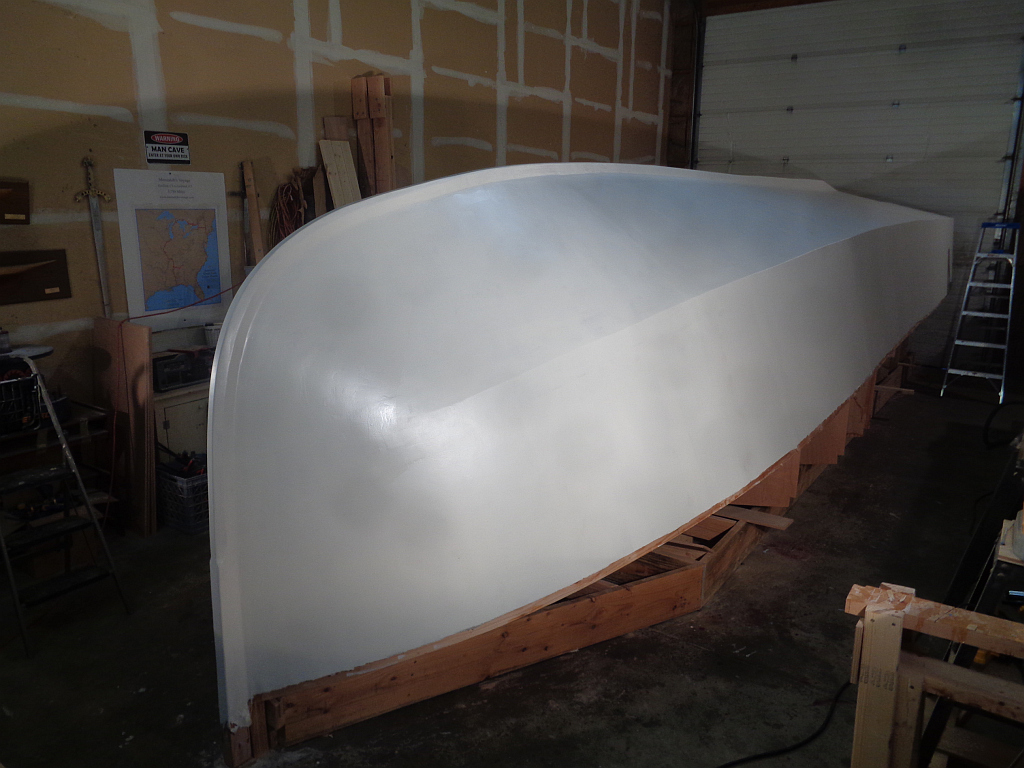
The primer looks so good with three coats on, I can’t resist posting some pictures. It was a lot of work this week sanding the whole boat and solvent washing between coats, then painting, but quite rewarding as the finish got whiter and smoother every day.
The primer isn’t really “primer” as you might know it from house painting. It’s an epoxy-based “tie coat” to chemically bond with the epoxy on the hull and prevent any adhesion/reaction problems with the final coat. That can happen — when I was painting the new engine stringers for Memsahib, I didn’t use a tie-coat and ended up scraping off every last lick of paint which had failed to dry after a week of cursing and heat-gunning.
I stared down disaster twice with the primer on the Tardis (now that she’s painted, I find myself calling her by her name rather than “the boat.”) After I took the initial primer pictures, I found about a foot-square area starboard amidships with a dozen bubbles ranging from 1/16 to 1/8 inch. Bubbles COULD mean air coming from under the glass and poor adhesion, so I was pretty worried. So I drilled down through the glass and just into the plywood. No problems — sharp shards of epoxy and glass, no uncured resin, dry sawdust. So I drilled the bubbles out and filled them with a strong epoxy mixture, and the next morning they were fine. I think what happened was that I put some extra fairing compound on this area only the day before paint. It probably wasn’t fully cured and off-gassed a little. The whole area is rock-hard now.
I had never used this primer before — Interlux 404/414 Epoxy Primekote. Because of shipping risks and environmental concerns, the VOC’s (volatile organic compounds) in boat paint have been removed, and you have to put them back before application. So you have to carefully mix base, reactor and solvent (Interlux N2333 brushing liquid) to get to paint. ( I remember my father and grandfather having a big fight mixing paint, linseed oil and turpentine when I was a little boy, doing essentially the same thing. My grandfather won, but his garage came out a sort of olive drab instead of green.)
I mixed a batch, put a brushload on the keel and it just splattered all over, ran in drips, wouldn’t cover. So I went back to the can and reread all the instructions, thought I had done everything right, and tried again — the paint was perfect, went on like cream, absolutely no sags or brush marks. I think they should put it in the instructions, since the paint obviously needs an induction time to get the chemicals to react together. Now I mix then make coffee or something for five minutes and the paint comes out fine.
Sadly, a tie-coat doesn’t “build” like regular primer. It will cover tiny low spots, but pinholes and rough areas have to be filled. So between coats two and three, there was yet another session of fairing and sanding tiny imperfections.
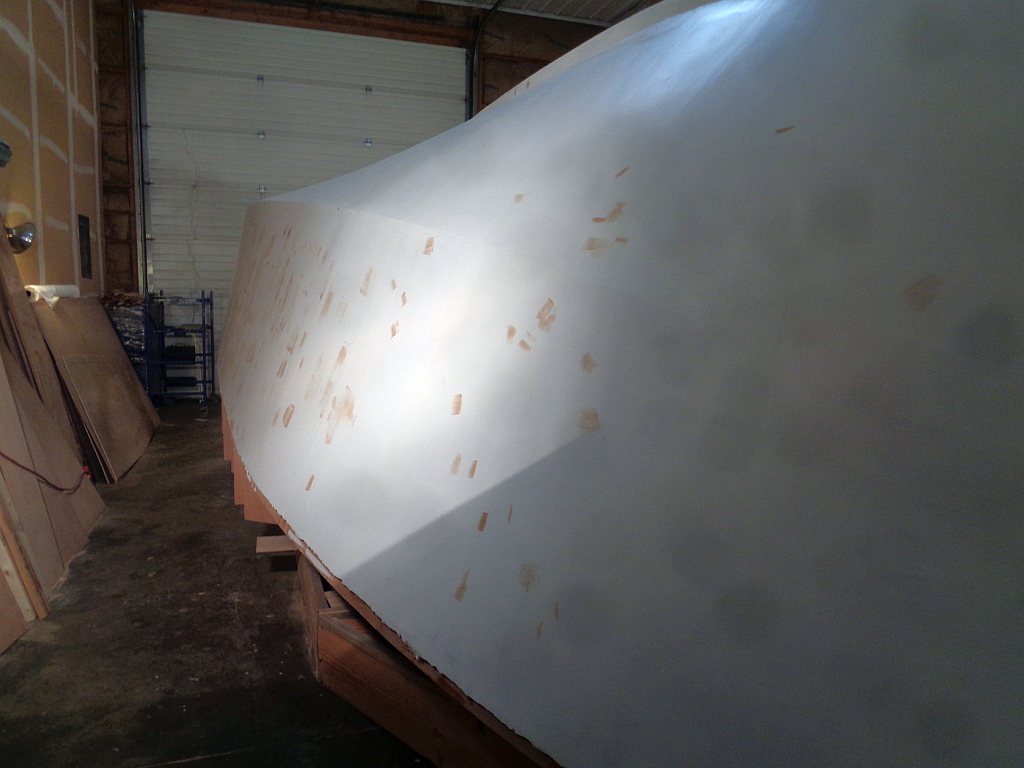
Tardis looks like she has fairing measles before the final coat of primer.


Paul,
The hull looks amazing! Your patience and perfection really shows. I look forward to seeing Tardis next month when i get back to CT.
PBH
LikeLike
Good job! The hard part is over. Now you can go back to the fun part of boat building.
LikeLike