

November 9, 2015 Hours spent building to date: 1,670
I was lulled into complacency by the relatively easy installation of the foredeck beams. I thought the forecabin deck beams would be much easier, since the sides of the boat are vertical in this location and the boat doesn’t curve radically toward the bow. Wrong. This will only be of interest to the boatbuilders, but here is the tale:
I really liked the curve at the station 13 bulkhead, the aft end of the cabin, which came right off the plans. So I thought that I would duplicate its curve by marking 4 stations at equal spacing across half the beam and figuring out the exact camber. Camber is the amount of height from a horizontal plane to the top of the beam and describes its curve. I was looking for .75 inches of camber for every foot of beam, or about 6 inches of curve over the 8-foot beams. At the first station the camber was 93% of the center, the second station 75%, the third 45%. By duplicating this I thought I could create patterns with the same relative curve for every beam.
I bumped up the camber that Mark had given me for station 5 to match this, and it looked good. Then I made the pattern for 6. Still looked good. Then I cut the beam — terrible, way too low. I had really butchered this one by using a jig saw instead of the band saw since I didn’t think I could control a seven foot curve all the way through the saw. By the time I got all the zits and swoops out, I had flattened out the camber.
On to 8 to see if I could adjust — and it came out way too high. But it was a strong, perfect-looking beam, same shape as 13, cut very smoothly on the bandsaw. I wasn’t going to hack this beauty down, so I decided to make it the “master beam” for everything else. That meant laminating strips onto beams 5 and 6 to bring them up to the shape of 8, and that killed a day.
Then onto beam 9 — still too high, but salvageable. But to avoid trimming too much I needed to laminate small strips onto the bulkheads at 11 and 13. So in the end, I had a mish-mash of bulkheads and frames, too high, too low and one Goldilocks. I spent all day Sunday with a plane, belt sander and orbital sander bring everything back to level. Probably a half-inch more camber than the plans, but decent-looking.
Today went better. The final two beams could be patterned directly from the ones that were already installed by scribing from the end of a batten. I laid a big piece of plywood up on the roof and it went right down over the cabin top with no problem. The problem is that I have worked more than 40 hours on six little beams!
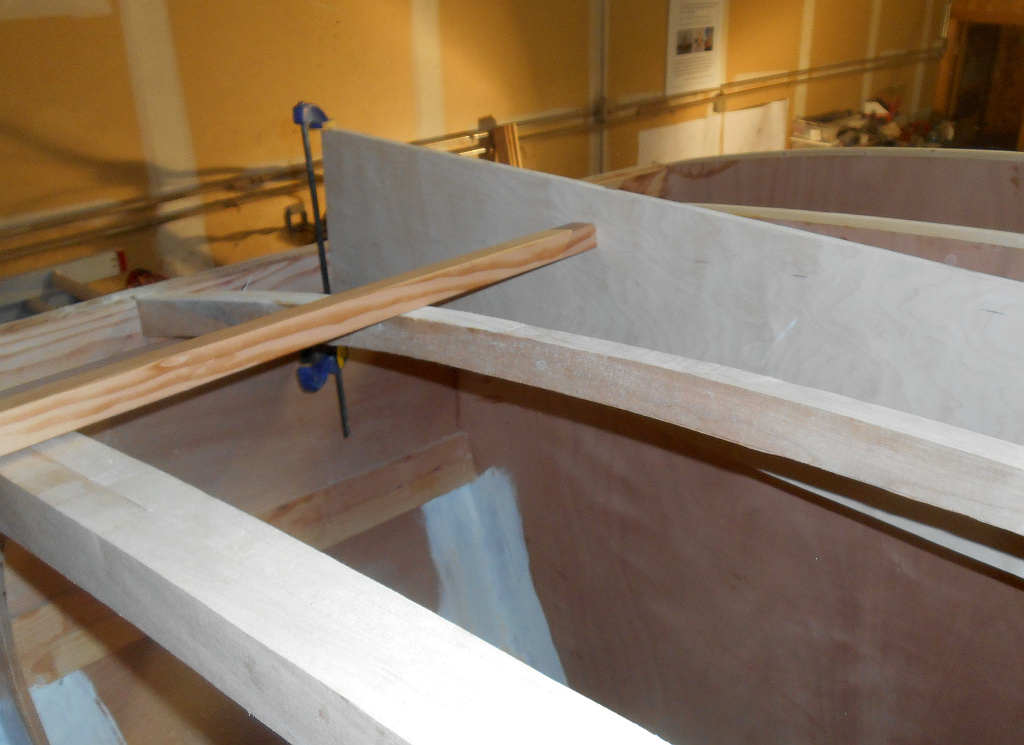
Ultimately, I think my formula was putting too much curve in the shoulders of the beams. If I had it to do it all over again, I would get a nice curve at the front of the cabin and a nice curve aft. Then using “crossed battens” (see the picture) I would take actual camber measurements across each beam to make patterns. That’s a lot of measuring, but the formula, shimming and trimming for a week was no picnic either.
I suppose houses would look a lot more interesting if instead of flat, angled roofs they had sweeping, Frank Gehry curves. But then all carpenters would have to be math majors (instead of English Lit. or Anthropology the way they are now), and homebuilders would be even more crazed and frantic than my neighbors.

Camber calculation sheet — nobody said this would be easy

Pattern at station 5

Pattern at station 8 — looks good, but came out high
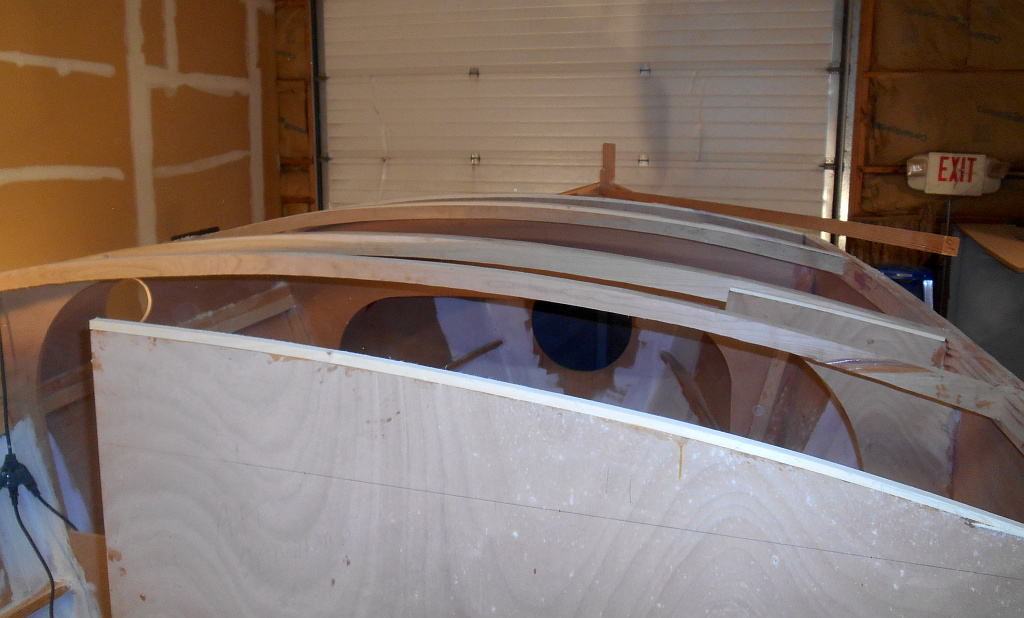
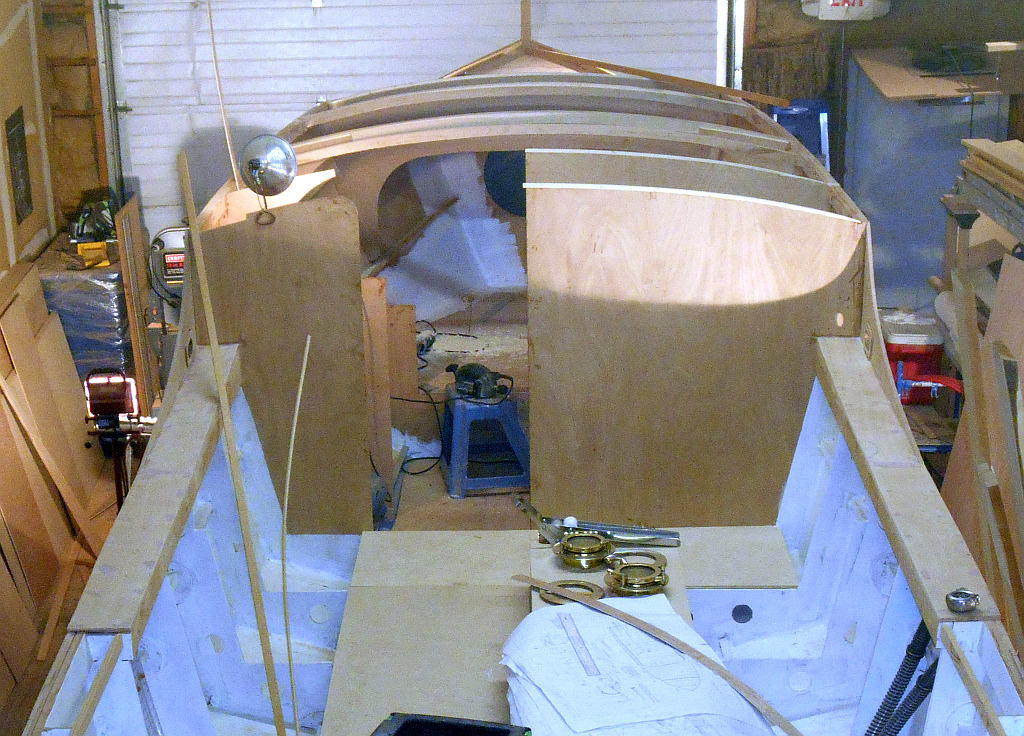
Four beams in and ready for final fiddling
Beams from aft
Final beams are easy to pattern — run a batten along those that are in and simply mark at the bottom all the way across.
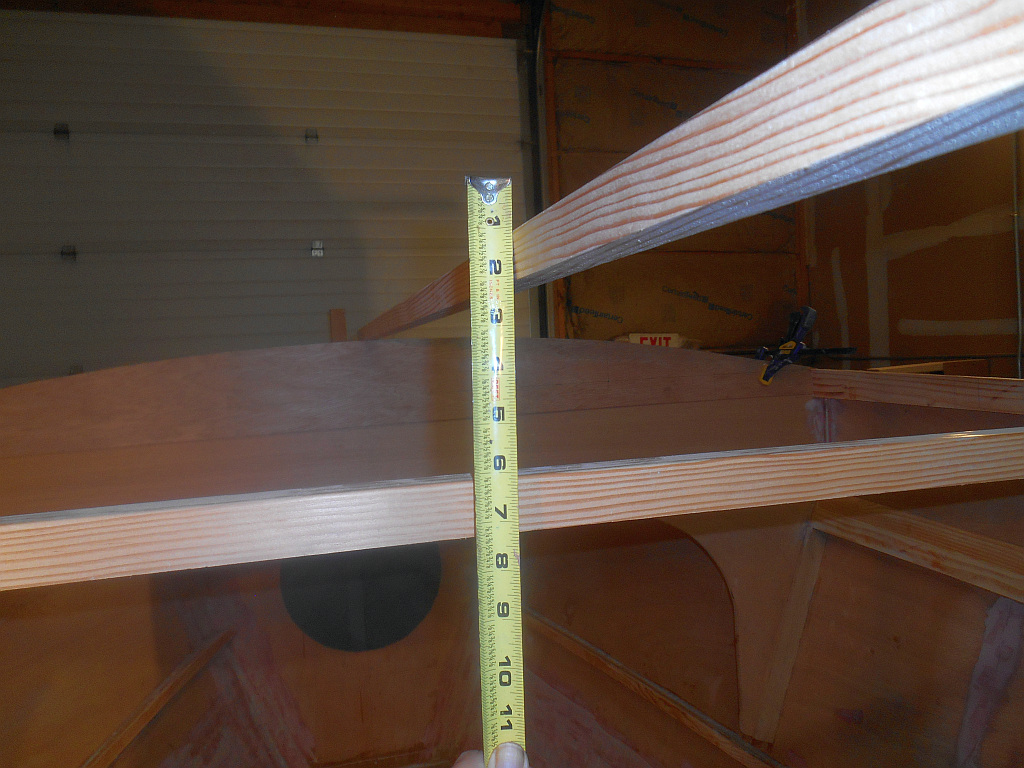
Crossed battens measure camber at any intermediate point. Top batten lies on two finished beams fore and aft and bottom batten lies across the carlin.

Jig for smoothing up outside edges of beams using belt sander

Oscillating spindle sander for smoothing the inside edges. Since everything on a boat is curved, I use this a lot.
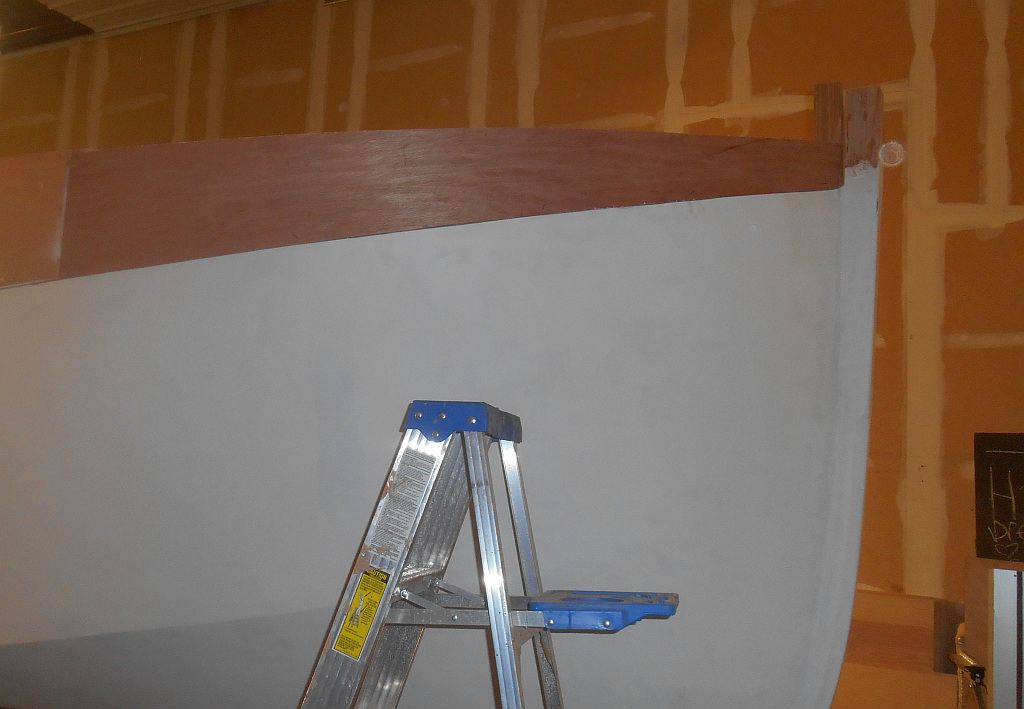
Foredeck bulwark pattern — while waiting for beam glue to dry, I started working on the foredeck bulwark

Bulwark pattern from inside — a very safe space


Paul,
Every entry in your blog never fails to impress. So amazed by what you’ve accomplished and your patience………..just looking at your notes on that piece of paper gave me a splitting headache. Boat is really looking good.
PBH
LikeLike
I’m continually amazed with the Tardis Project and your great abilities Paul. We look forward to the day when we can see the boat in person and get a chance to visit with you again.
LikeLike