

December 13, 2017
Offcut uses “stitch and glue” construction, so with all the parts made, stitching was the next step.
When Sam Devlin invented this method, the usual technique was to lay out all the pieces on the floor, stitch them together with wire ties and gradually see a boat emerge as the panels got tighter and tighter together. Only them were transoms, bulkheads and other interior supports added.
As the boats got bigger, most are assembled over a jig or “mandrel” with the bulkheads pre-assembled and the stitched panels formed on top. Working alone and with two 3/4-inch transoms to screw into, the mandrel method seemed the way to go, so I built a simple jig using 2X6 lumber with 2X4 blocks in between. This would also give me a very solid foundation for working on the transoms, which would require considerable beveling to make nice flat surfaces to accept the planking. I don’t know if Sam planned it this way, but the seats are both level with one another and the two interior bulkheads are attached to the seats, so this made a perfect reference point for building the jig. I simply screwed the front seat to the jig and clamped a piece of plywood representing the rear seat to the jig, and off we went. I took the transom angles from the plans and mounted “faux” transoms made of plywood, so I could clamp the real transoms to them and move them around as needed.
Then I lost a day to a copying machine: Sam’s plans have full-sized patterns for the transoms and bulkheads, but they were designed to be printed in color and my print shop only had a black-and-white plotter. So the print shop guy made copies of the original scan instead of outputting them on the plotter, so he could darken up the lines.
When I did a test-fit of the planks, the bulkheads and stern transom were exactly 5% too big all the way around. The forward transom, made from the original, was just right. Either the copier was set to enlarge, or more likely, given a 24X36 copy, the alignment between the platen and optics just isn’t all that accurate. What wouldn’t show on a typed page makes a huge difference on a giant copy. So I had to spend a lot of time cutting and grinding away to size the bulkheads and stern to fit the planking. I was working with some real machinists today on another project, and they said they are very leery of copy-shop copies and never scale directly from them unless they true up correctly to a known measurement.
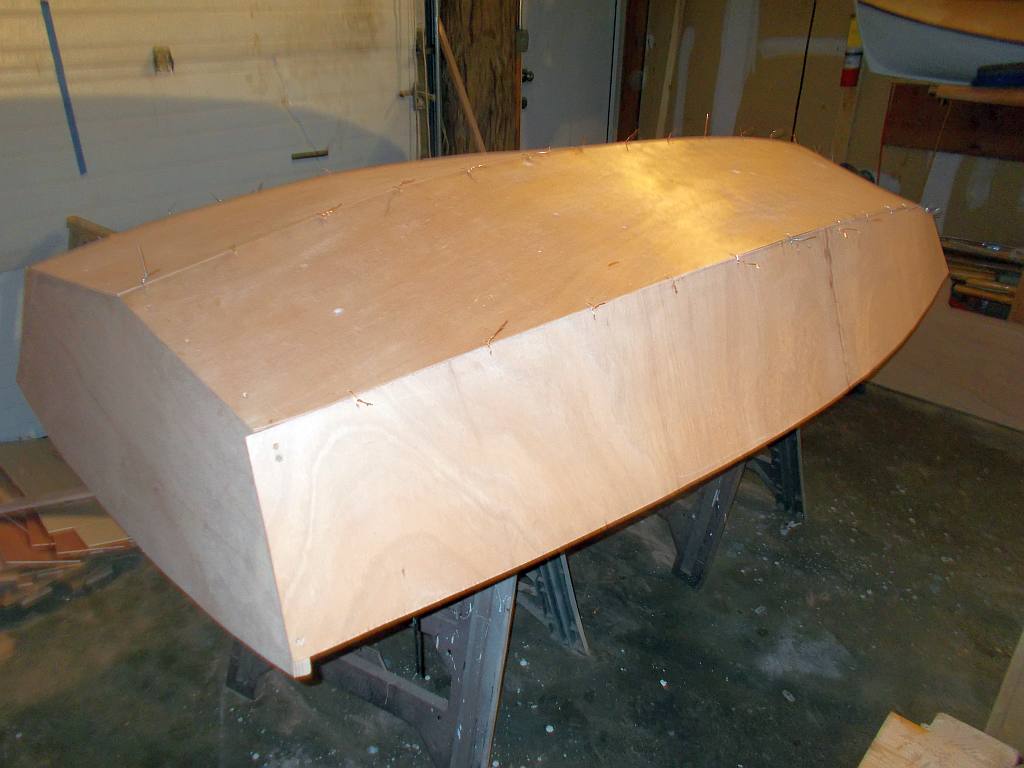
The stitching process was interesting. I couldn’t find any of the “cow wire” that Sam specifies out here in Whiffenpoof Land, so I started using copper picture wire, but in high stress areas, this popped apart. I found some 16-gauge galvanized wire at another hardware that was stiff and hard to work with, but very rugged. Laying the stitched bottom panels on the mandrel I experienced one of those “this can’t possibly work” moments, but as you push them down, they magically form a boat-shaped object.
Another piece of magic is the way the panels butt together. Sam specifies a 45 degree bevel on all the inside edges, and somehow this allows the panels to really squeeze up close to one another with only the wire holding them together. My panels weren’t perfect by any means, and getting a bevel on quarter-inch plywood is tough, but I would guess maybe 75% of the seams were within a sixteenth of one another, and the “glue” part of the process (epoxy and glass) will take care of the rest. I glued and screwed the transoms, and was going to screw into the bulkheads, but since the wires seemed to bring the whole boat right down tight to the framing, decided to leave well enough alone.

Building jig — long pine piece sitting on the 2X6’s is the rowing seat.

Another view of the jig
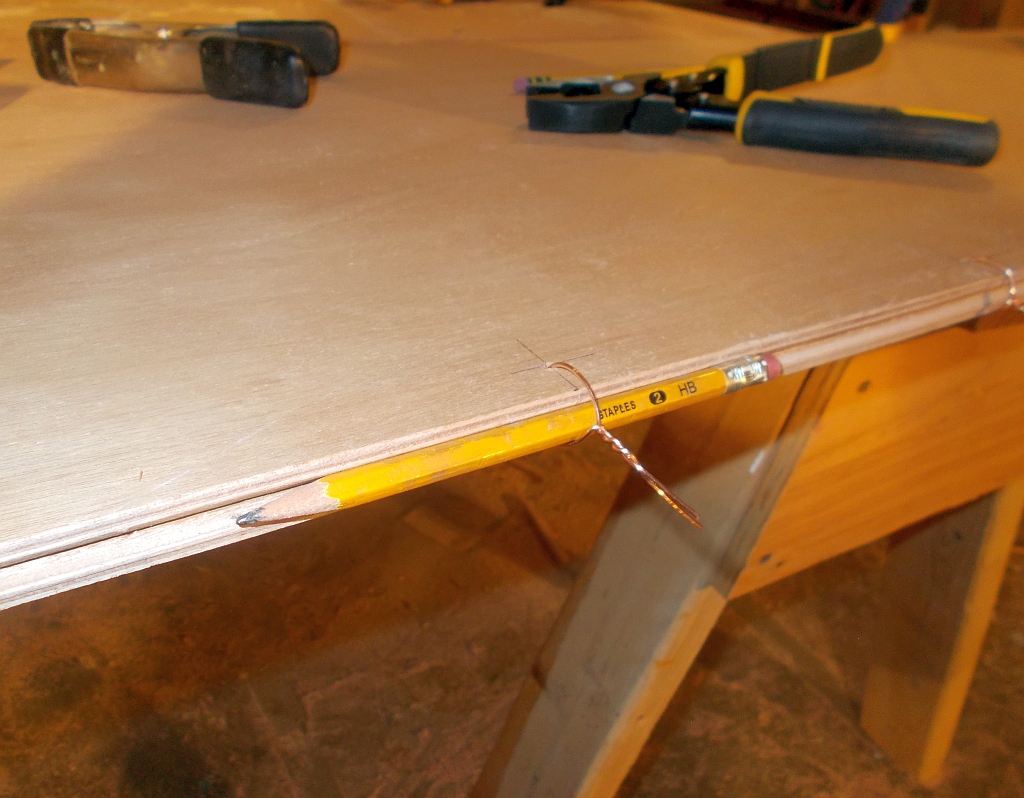
Stitching — put a pencil in the groove formed by the edge bevels, twist until tight, then take the pencil out and twist once more.

Bottom panels all stitched up.

On to the “mandrel”
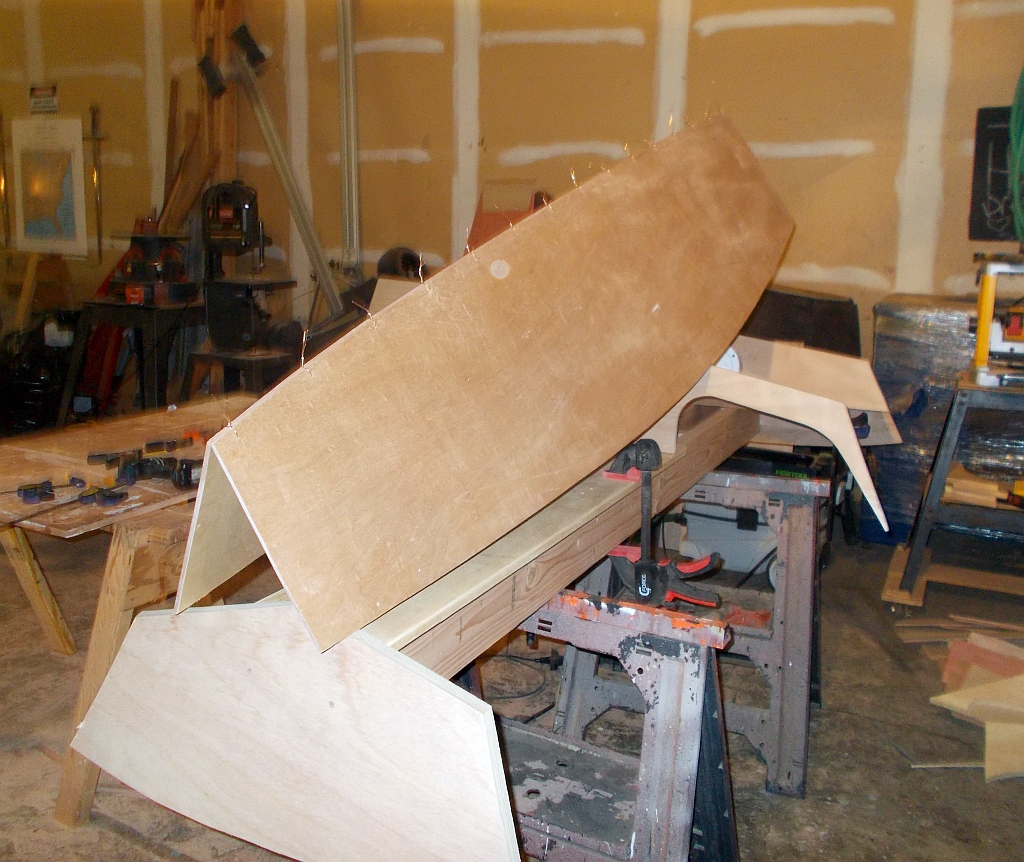
Folding out the panels.

Lousy picture, but as you push the panels onto the bulkheads and the panels pull against the stitches, the shape of the boat magically appears.

The bevel technique produces a decently tight seam.

Had to use steel wire for stitches in highly stressed areas.

Tardis in winter quarters.

Sparta the Seagoing Cat is very interested in Christmas tree lights.
xxx


Leave a comment