

January 8, 2015 Hours spent building to date: 521
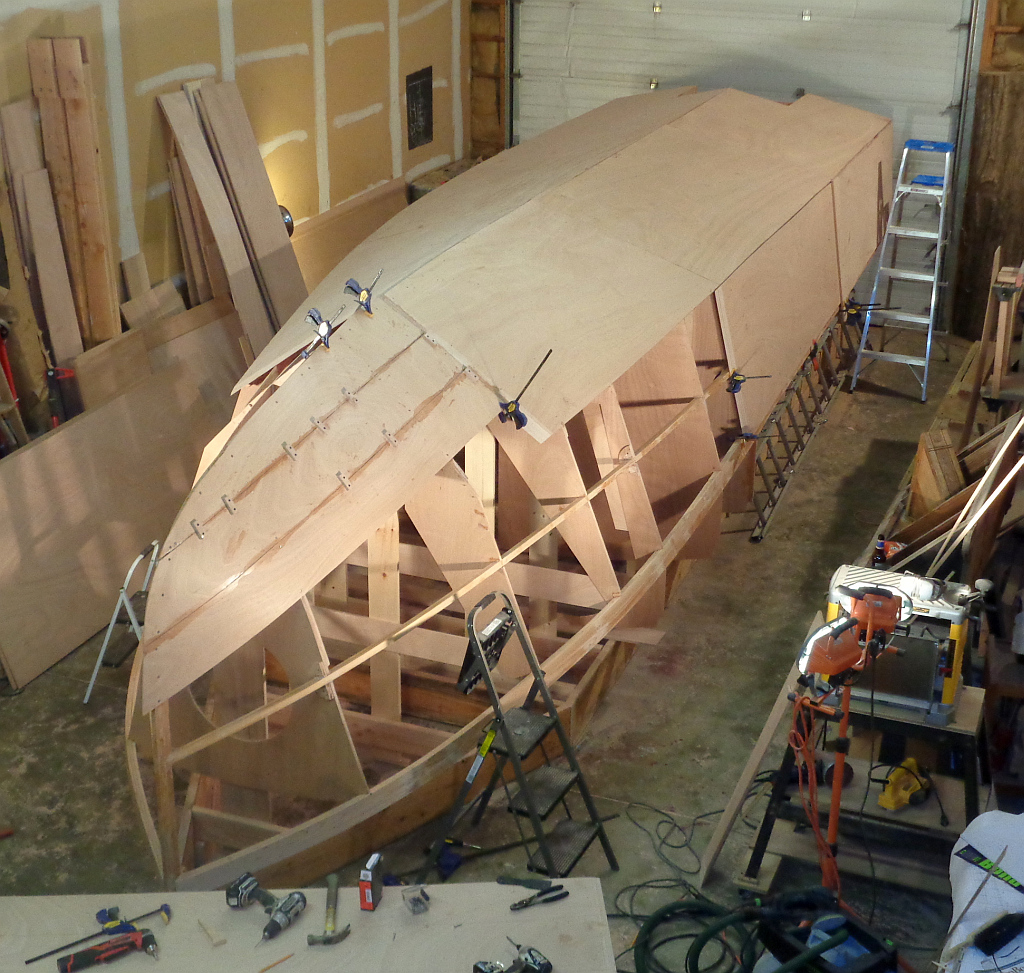
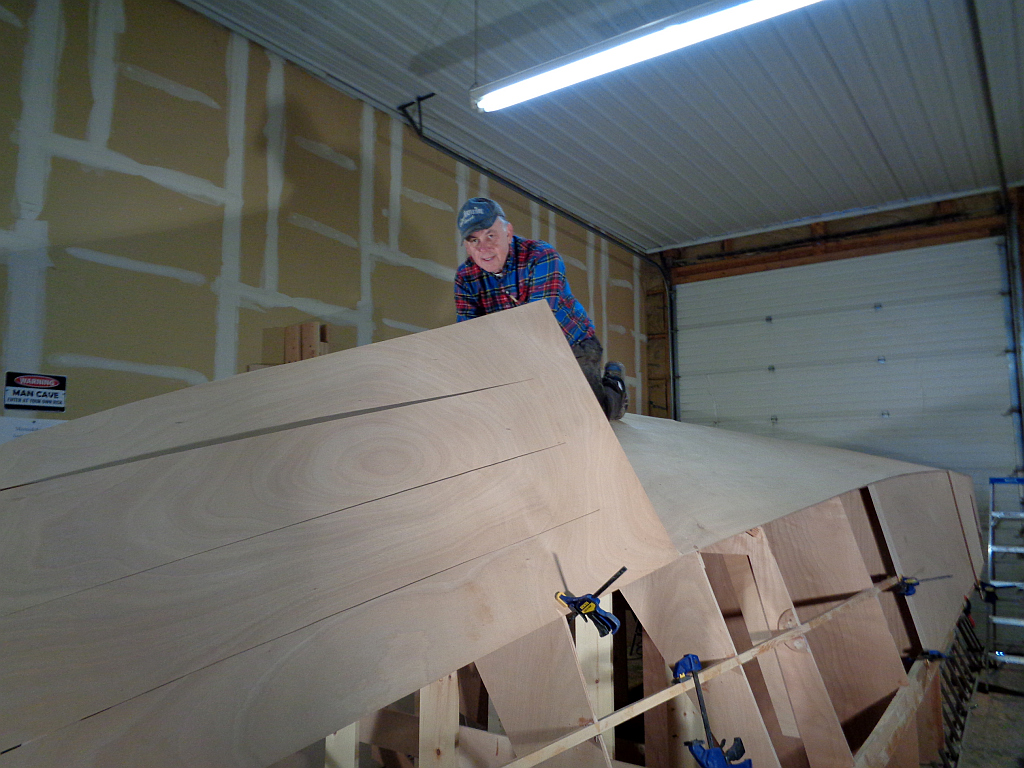
Put on two more side planks yesterday with Ray’s help and started the bow planking. The bow has a lot of twist and curve to the planking and has to be done in two 1/4-inch layers. Aside from getting the plywood to bend, this is a challenging spot to plank because there is not a lot of framing/stringers in this area, thus not much to screw into to help hold everything down.
We started the bow using the method developed by Friedbert in Germany of using pretty much a whole sheet to fit the area roughly, then cutting slits up to the scarfs to provide a solid gluing area to the next plank back. It looked like it was going to work until we took the plank off and had a four-armed, floppy monster on our hands. It was also very difficult to see where the frames and stringers were lying under the great, big piece. So we decided to cut the big piece into four individual “planks”.
This worked, but once we had taken the big piece off the boat, it was difficult to remember exactly how to station the new planks, and we had to do some trimming. But it all came together in the end, and the shape and seams look pretty good.
Construction tips:
I added what amounts to a “nailer” at station 2, to have a solid place for fastenings. It is wrapped in tape and will come out.
We increased the size of the little shelf in the anchor storage are to 3/4 and left it in until the last minute to give some shape clues in that area.
To bring the plank edges even where necessary, I used plywood clips wrapped in packing tape and drywall screws. Fine-thread #6 screws will hold fine in quality marine plywood, a pleasant surprise.
“Ray, this is going to take some bending.”

“This could work”
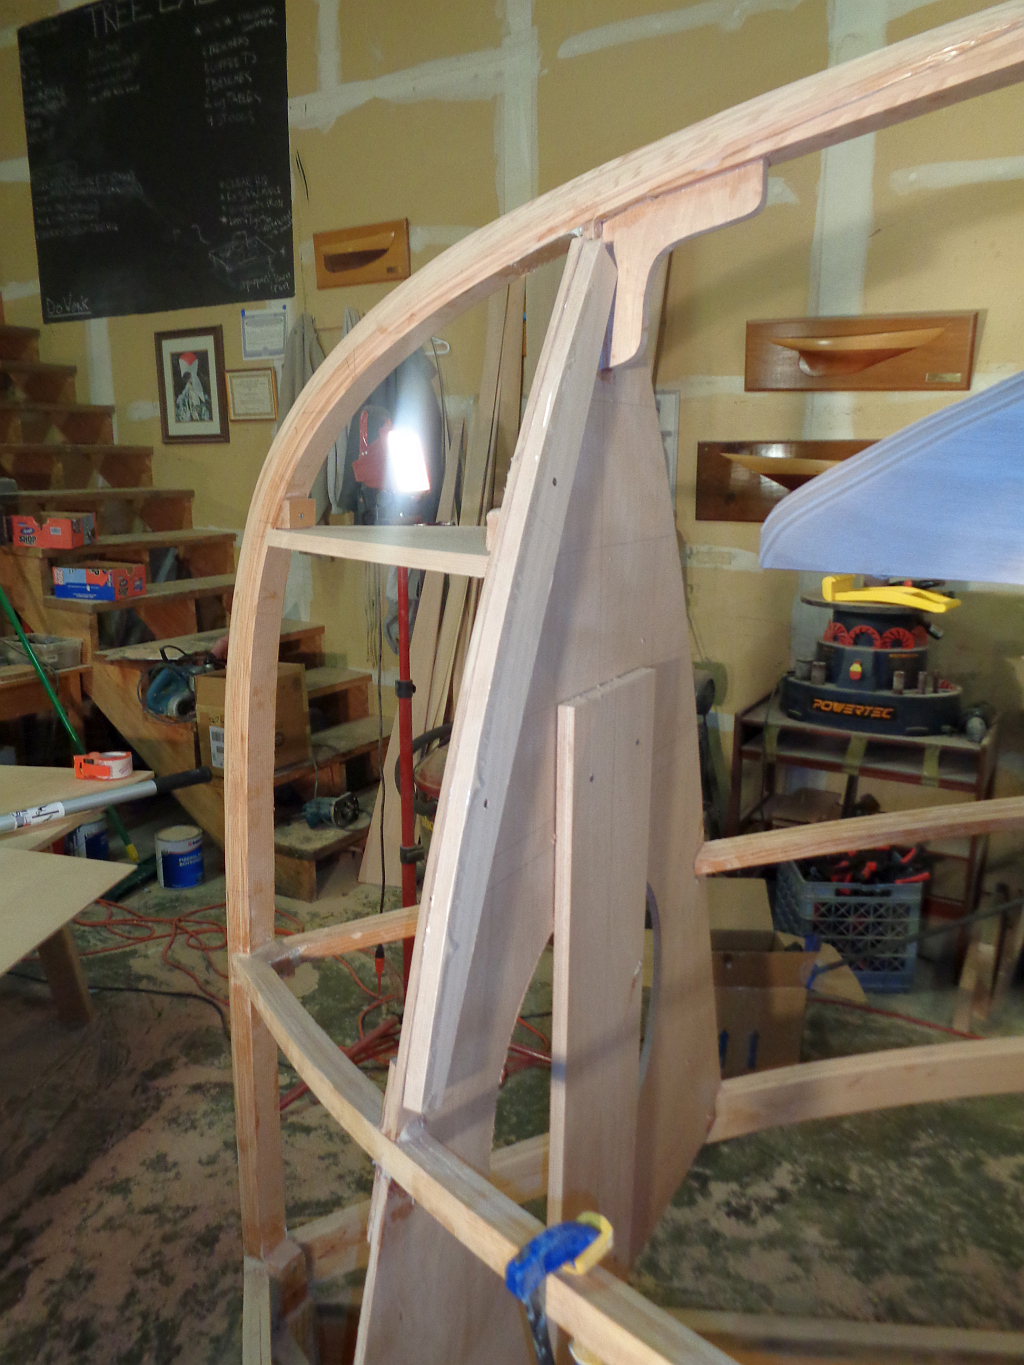
Station 2 “nailer” for fastenings.

Clips hold planking even


It really is a boat!
PK, that’s impressive.
LikeLike
wow,the internet helping a dual build,on two continents,Im glad Ive waited,when I build,who knows?we could share 3d images of our progress real time,could be the dawning of the new renaisance,not just for boats,but for all trades,cheers .R.
LikeLike