

June 21, 2015 Hours spent building to date: 1,144
I’m into the phase of the build where parts of the plans become more generalized, with a fair number of options on layout, equipment, and details based on how the Tardis will be used.
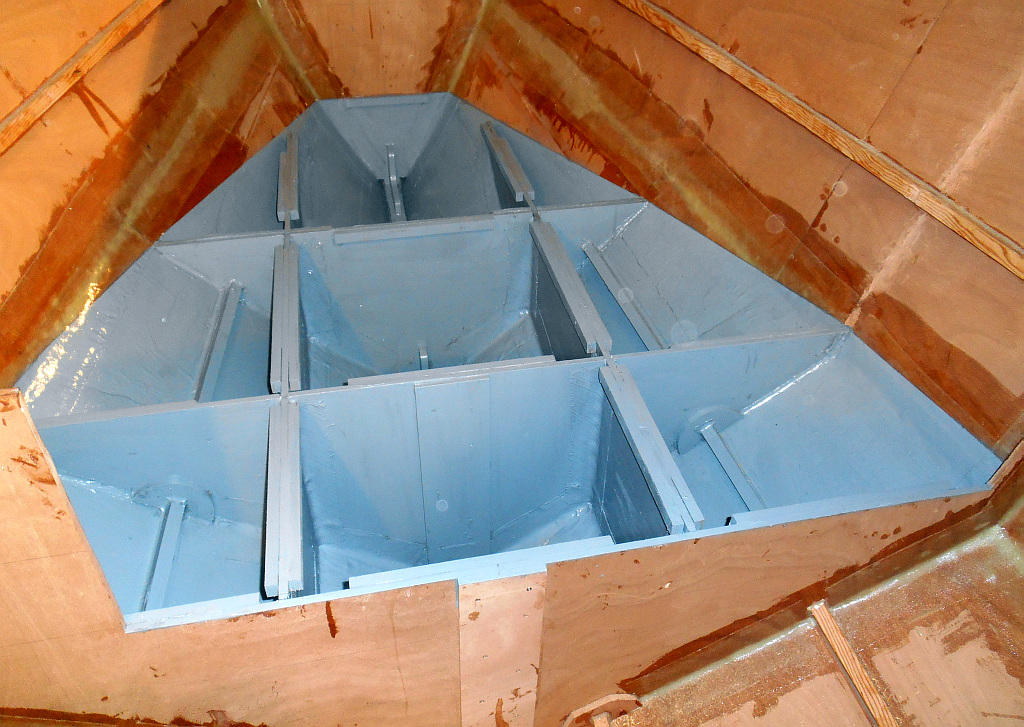
So I spent an inordinate amount of time pondering how to approach a small floor at the bottom of the anchor locker. It is located right above the waterline, and in a collision (likely, given my boat handling) would add tremendous strength to the hull. But if it is bonded in completely, it isolates the hull underneath. So with visions of a giant deadhead with a huge iron spike charging down the Connecticut River to punch a hole right through that area, I thought I’d just screw the floor in. But then I would lose the strength of bonding. I went back and forth on this for a day while fiberglassing, then came up with the obvious solution — bond it in, but add a small access hatch big enough for my hand and a big glob of underwater epoxy in an emergency.
I carried that approach through to the berth flats — bonded tightly to the rest of the structure, but with hatches not only for storage, but to allow access to the hull at all points. I finished everything up today, and it is a super-strong structure starting with the “egg crate” girders, enhanced by leaving in the bottoms of the temporary frames, beefed up even more with some knees I added back when for some reason I thought the framing was a little light in this area, and finished with the berth flats.
I used a “story board” to pick up the curve of the hull, placing a narrow piece of plywood on the girder structure to represent the berth flat, then marking the distance from its edge to the hull every four inches. Then those measurements go on the actual plywood berth flat, and a batten is bent around the marks to delineate the curve of the hull. The final cut needed some small adjustments, but as you can see from the pictures, it is pretty close. The hull changes its vertical curvature very rapidly in this area, so a super-tight fit would have required planing in an impossibly complex rolling bevel. So I used the same technique as the chine, rounding over the bottom edge of the frame with a 3/8th inch router bit for a snug fit to the hull, with the epoxy and bonding providing the real strength.
So now I feel protected from all kinds of deadheads except those driving jet ski’s.

Anchor locker shelf with emergency hatch
Area under berth flats — loads of storage.

Berth flats with storage, access locker lids
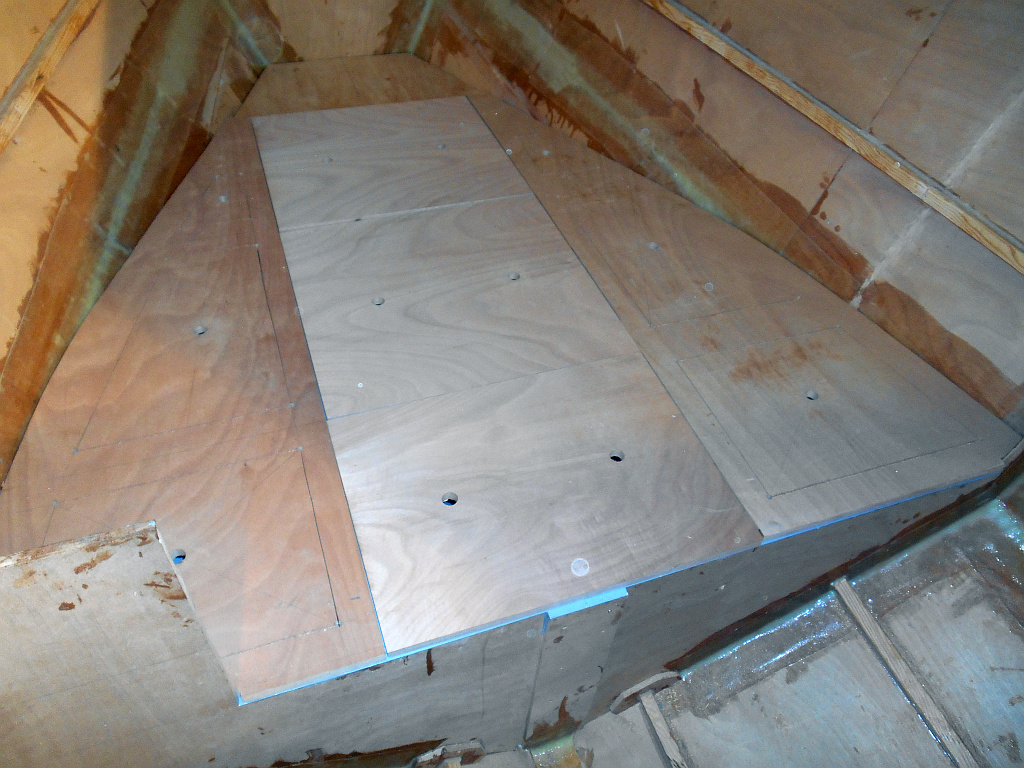
Berth flats installed (not bonded to hull yet)

Forward berth in operation

Bonding is creeping back toward the stern


Leave a comment