

November 23, 2015 Hours spent building to date: 1,737
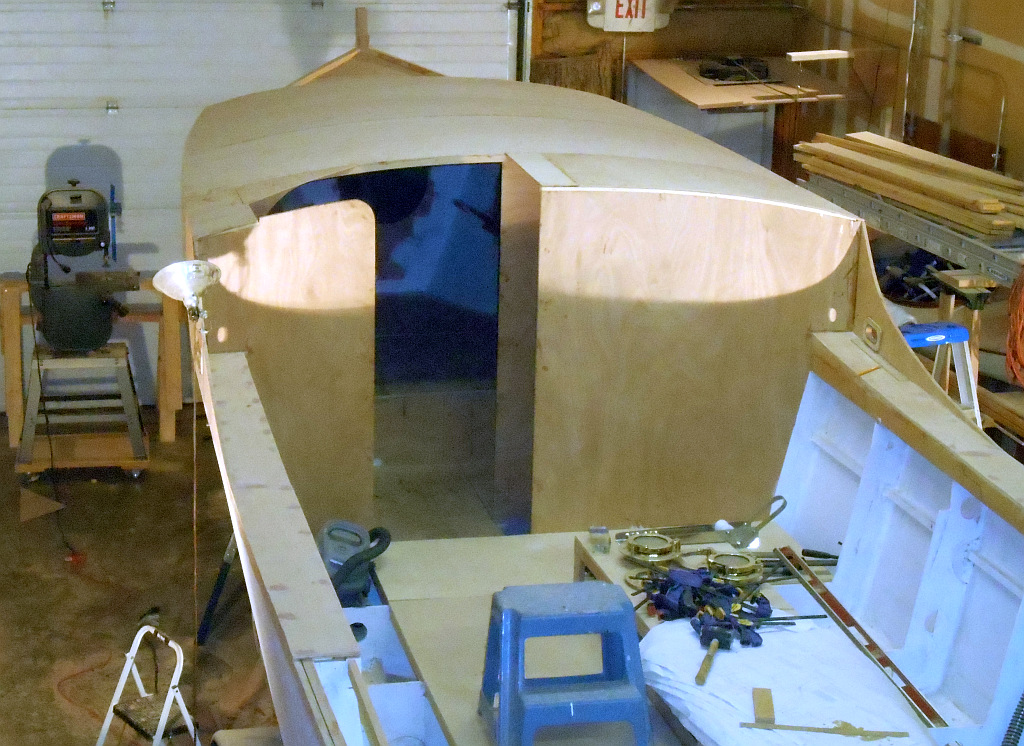
Spent the whole week prepping for the big event today, gluing on the first layer of the forecabin roof:
— Sanded, faired and edge-detailed all the beams.
— Couldn’t see a beam on the plans at station 11 to pick up the roof edge, but I added a light one anyone.
— Added a nailer at 13 so I wouldn’t be screwing into plywood edge grain.
— Beveled the square, beefy carlin lamination so the roof would be fit tightly at the edges. All pretense of craftsmanship and proper use of edge tools having been given up long ago, I put a metal polishing disk into my grinder and chewed the bastard down.
— Patterned and cut all the plywood for the first layer.
— Glued in the beams.
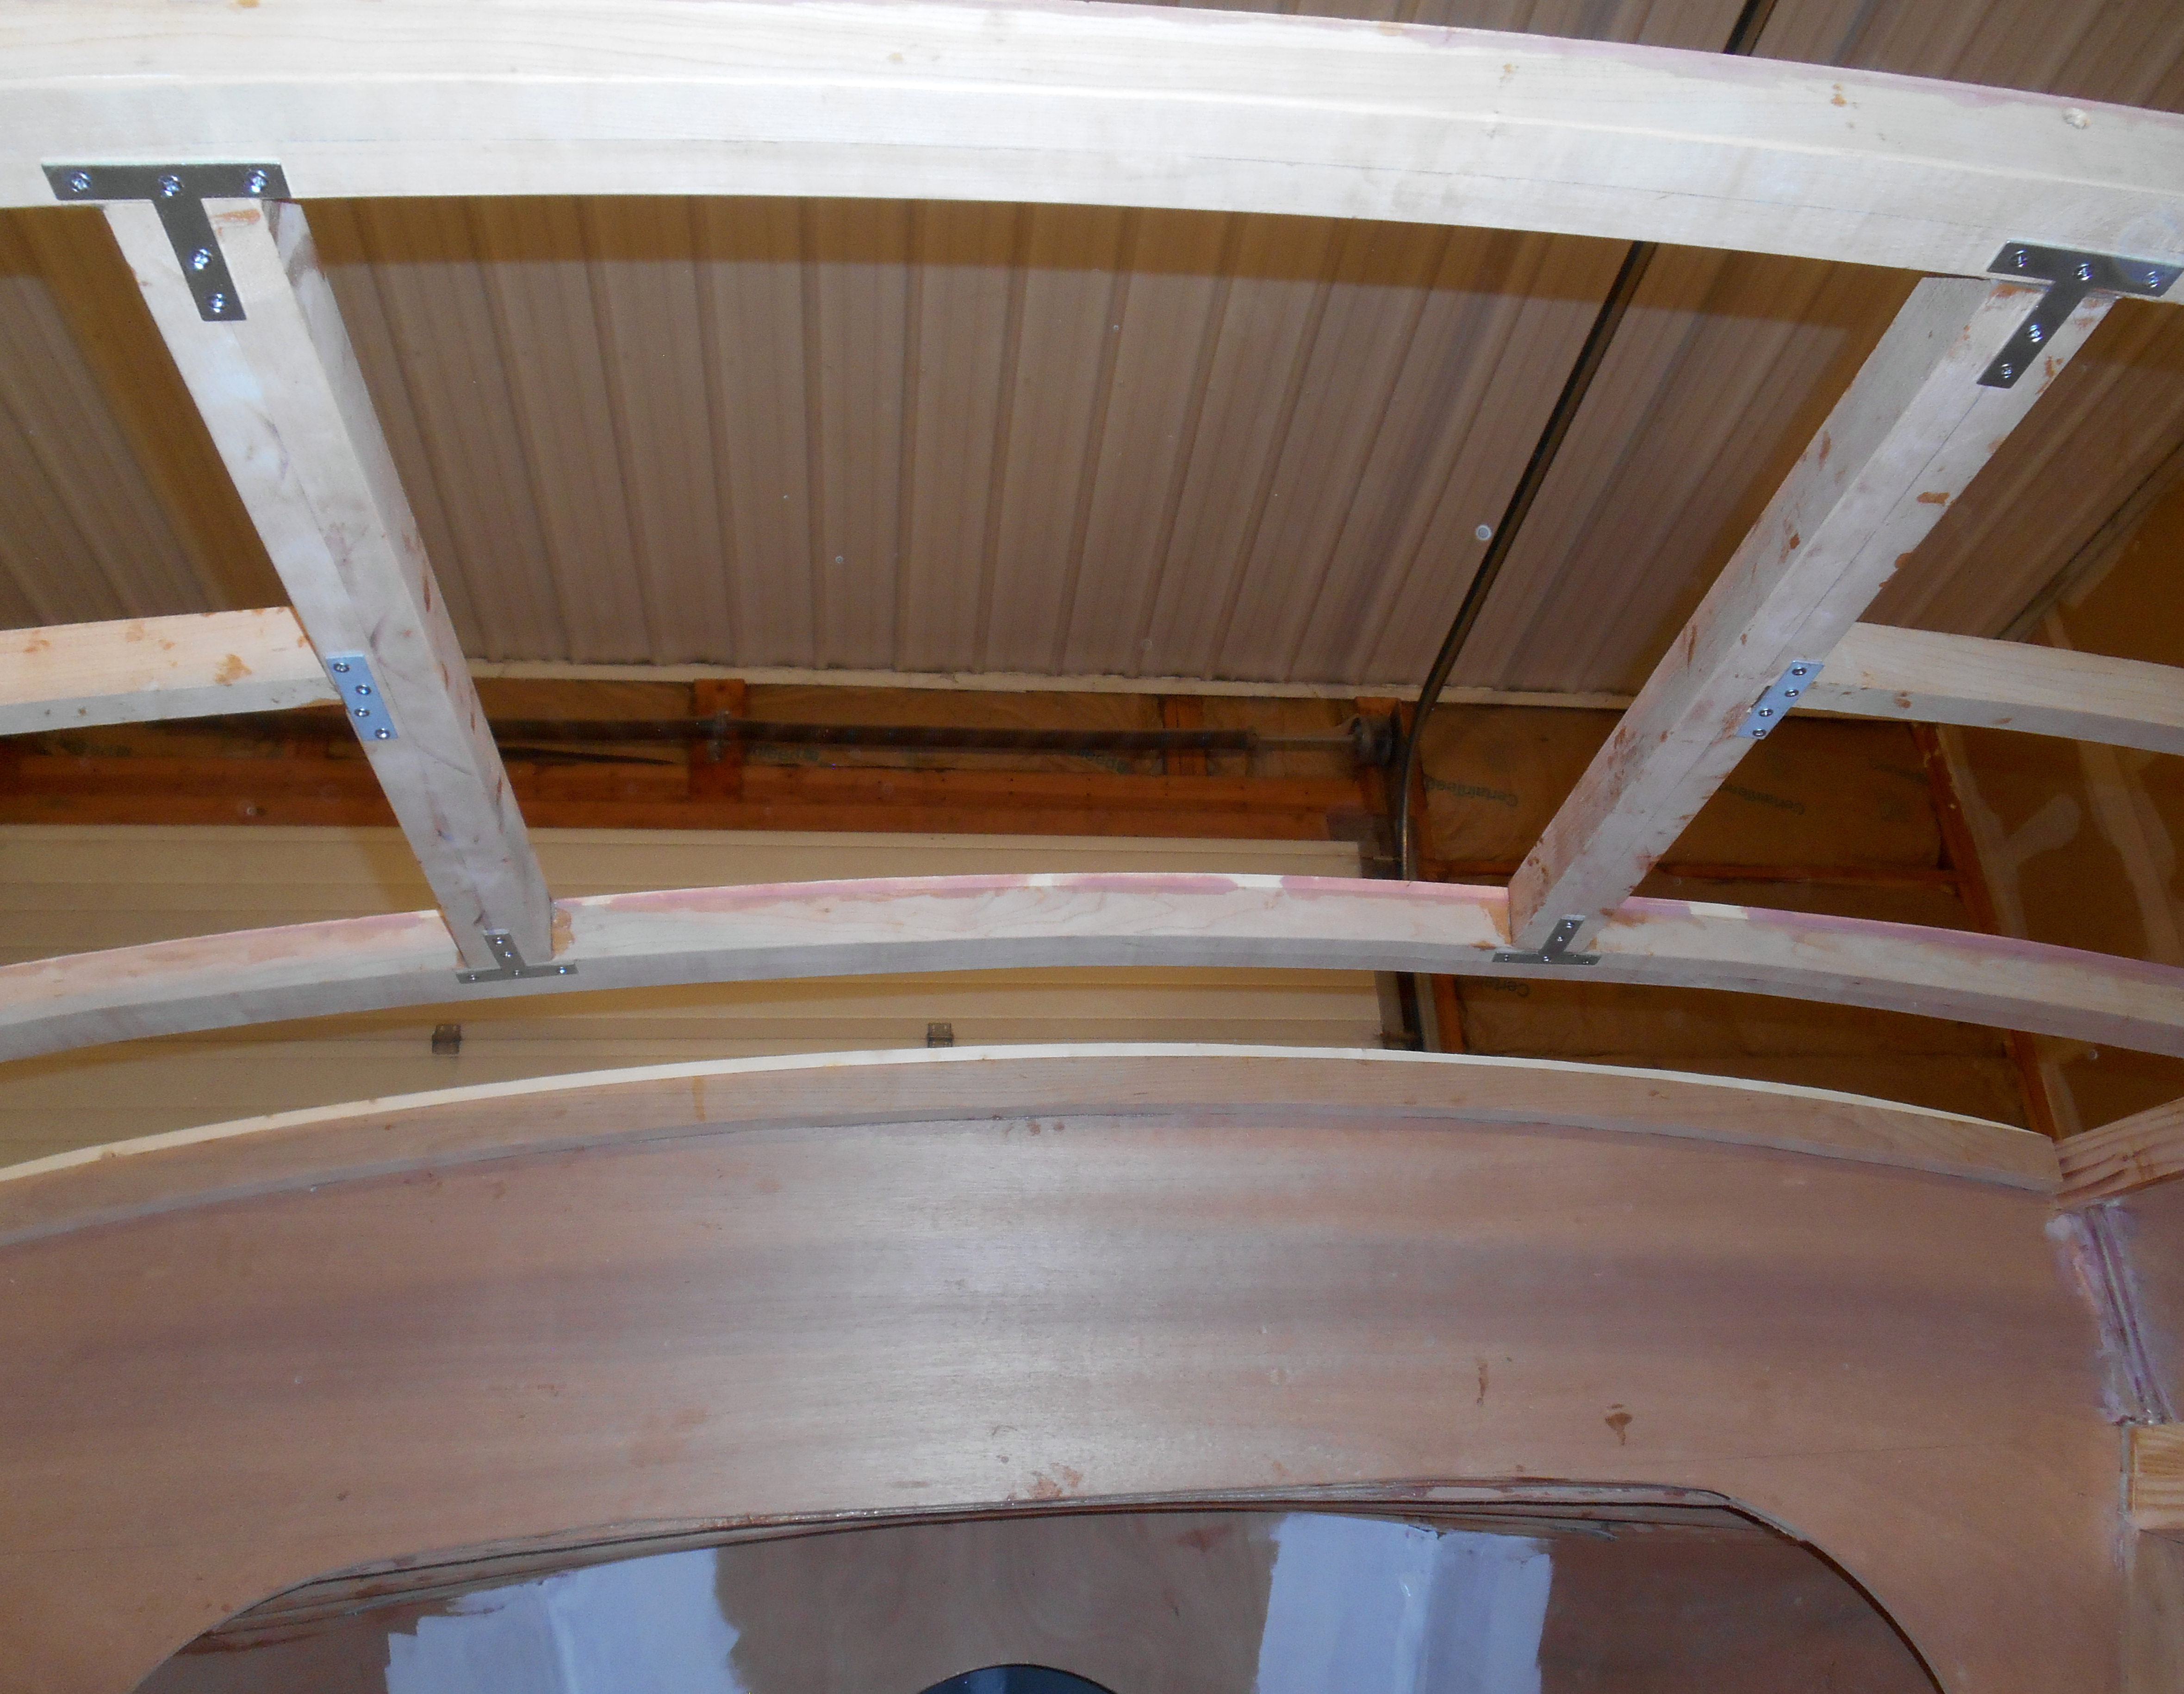
I cut notches in the carlins and dadoes in the fore-and-aft support pieces for the hatch, which is the correct way to do this. But when it came time to cut notches in the two beams on either side of the hatch, I chickened out. Getting out a dado cutter that I probably hadn’t used in five years to make a deep, angled cut in an eight-foot curving beam was a recipe for disaster. So Pages Hardware once again came to the rescue with some heavy, stainless steel T-braces to back up the epoxy. To be on the safe side, I added metal under the side notches also.
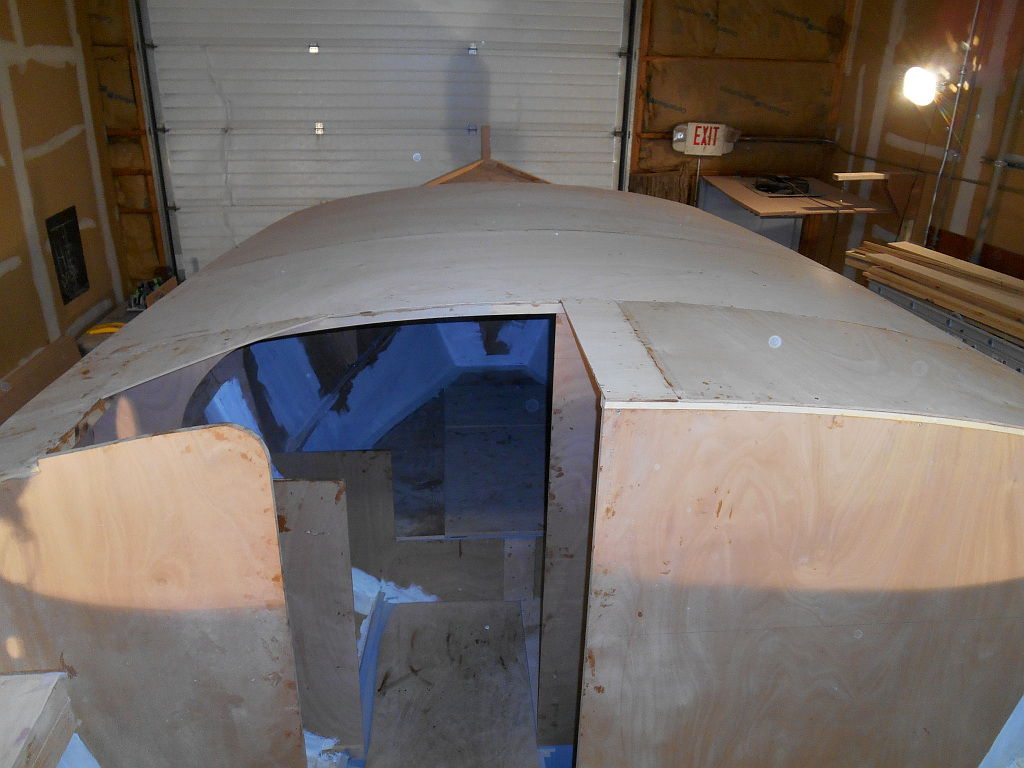
With Ray in Seattle for some sort of strange family ritual called Thanksgiving, I had to figure out how to get the panels onto the roof without smearing epoxy all over the place. The pieces aren’t heavy, but two guys can “plop” the panels into the epoxy, while one guy has to slide them on and mess up the glue. So I clamped a couple guides to the beams so I could lift the panel almost all the way onto the boat, plop it down, then slide it evenly through the epoxy for only about a foot. That worked well, then it was just a matter of screwing the panels down with about 100 screws.
As much as I griped and complained about the beams, the panels are really, really tight all the way across. They ain’t pretty, but it all worked out in the end.

Finally, finally, the beams are glued in!

Won’t make Fine Woodworking magazine, but they won’t fall down either.
Hatch opening.

Guides for sliding roof panels without too much smearing.
First layer of forecabin roof.

Beams and roof are really tight. Please ignore giant shim on frame at left.


Leave a comment