

November 20, 2015 Hours spent building to date: 1,766
It is not a good idea to use the word “finished” on any boat project ( even when you need an alliteration) but at least the rough carpentry from the forecabin forward is done.
The second layer of plywood on the roof went on with no drama — plywood likes to curve over a nice, even surface and with the first layer sitting on the beams, there were no hills or valleys to worry about. I was able to hit all the beams with screws on both layers by drilling reference holes in the hatch area (which would subsequently be removed) and marking thick lines where the beams hit the carlines.
I tried the new Thixo LV (low viscosity) epoxy in a tube for bonding, and it went pretty well. It basically spreads itself out within about five minutes of application, saving a lot of time. I did get some runoff at the edges on the first layer, so I put a “dam” of regular Thixo around the edges, which worked. For filling cracks and flat laminations this is good stuff. It reaches a gel in 15 minutes, so if you had some emergency work to do, you could let it set up a bit and jam the piece to be glued up against its mating piece, and it would stick.
I cut out the hatch section in the middle to get some light into the boat, and because that’s now the best way to get onto the roof or foredeck rather than clambering off a ladder.
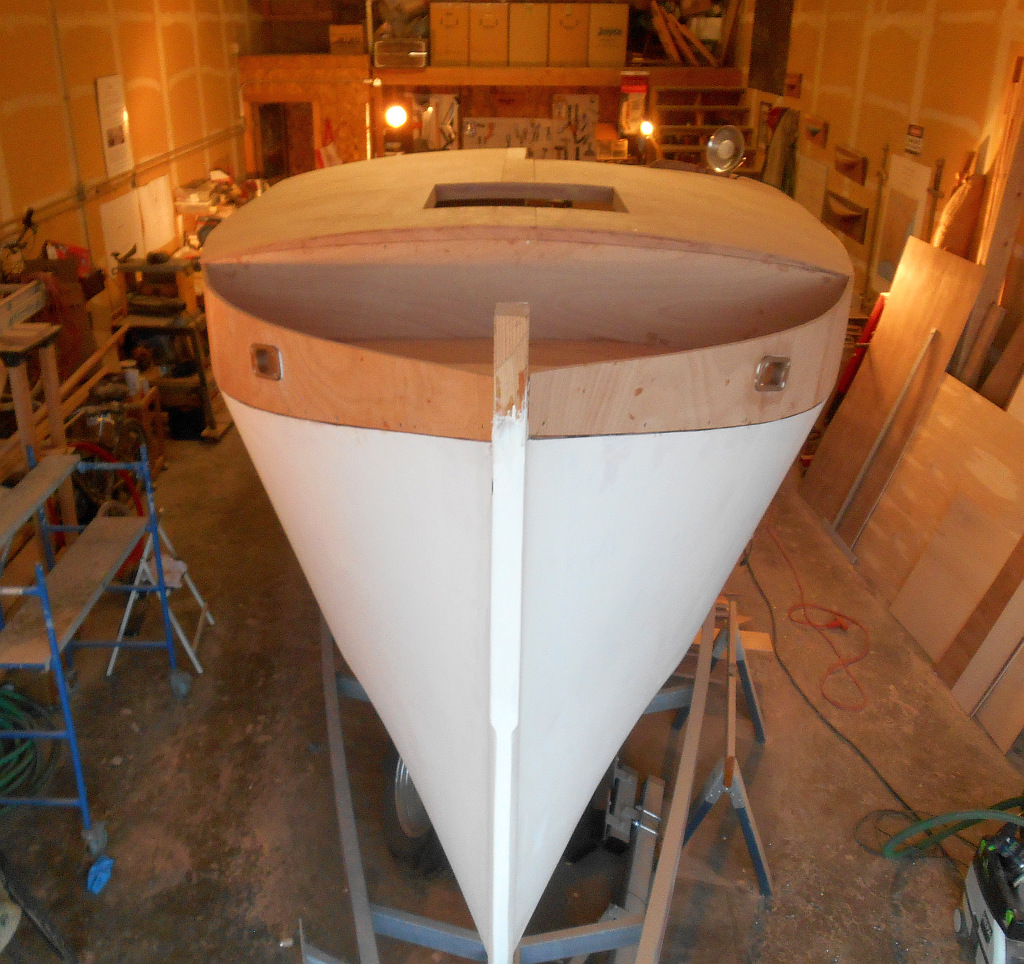
Then I installed the bulwarks around the foredeck and their requisite hawse holes. I love this feature, it’s totally classic. It’s hard to keep a raised deck looking trim and yachty rather than heavy and utilitarian. There were two designers who, to my eye, always got it right — Maurice Griffiths (Google him) and Sam Crocker. And now Mr. Smaalders.

Layer two going on. I always have a drill, impact driver and countersink chucked up (and suitably encased in epoxy).

That’s a lot of bend for scarphed 1/2-inch plywood!
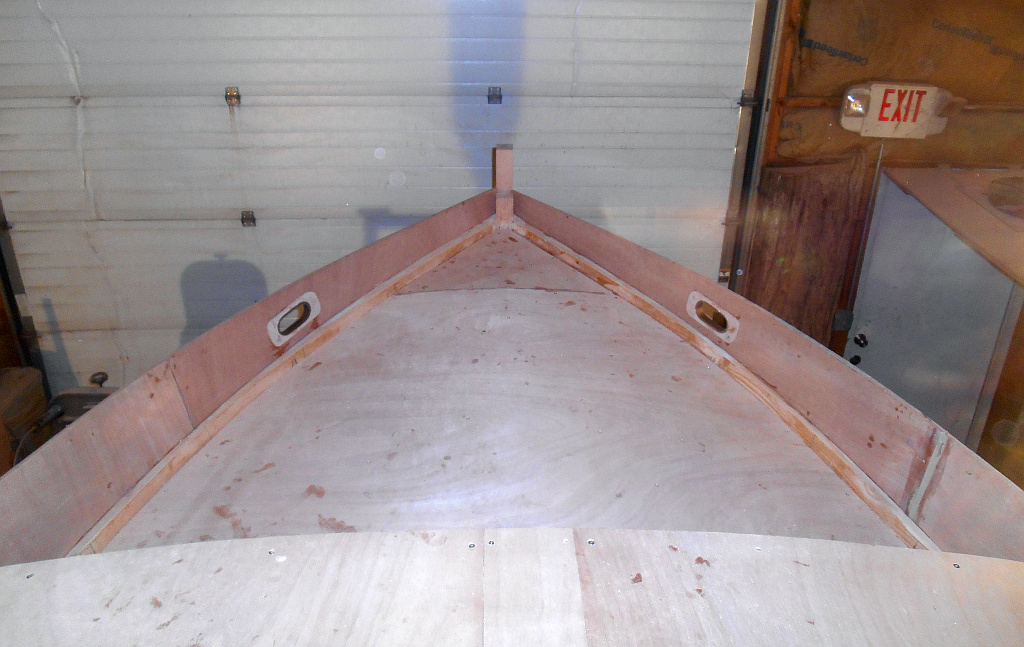
The new foredeck
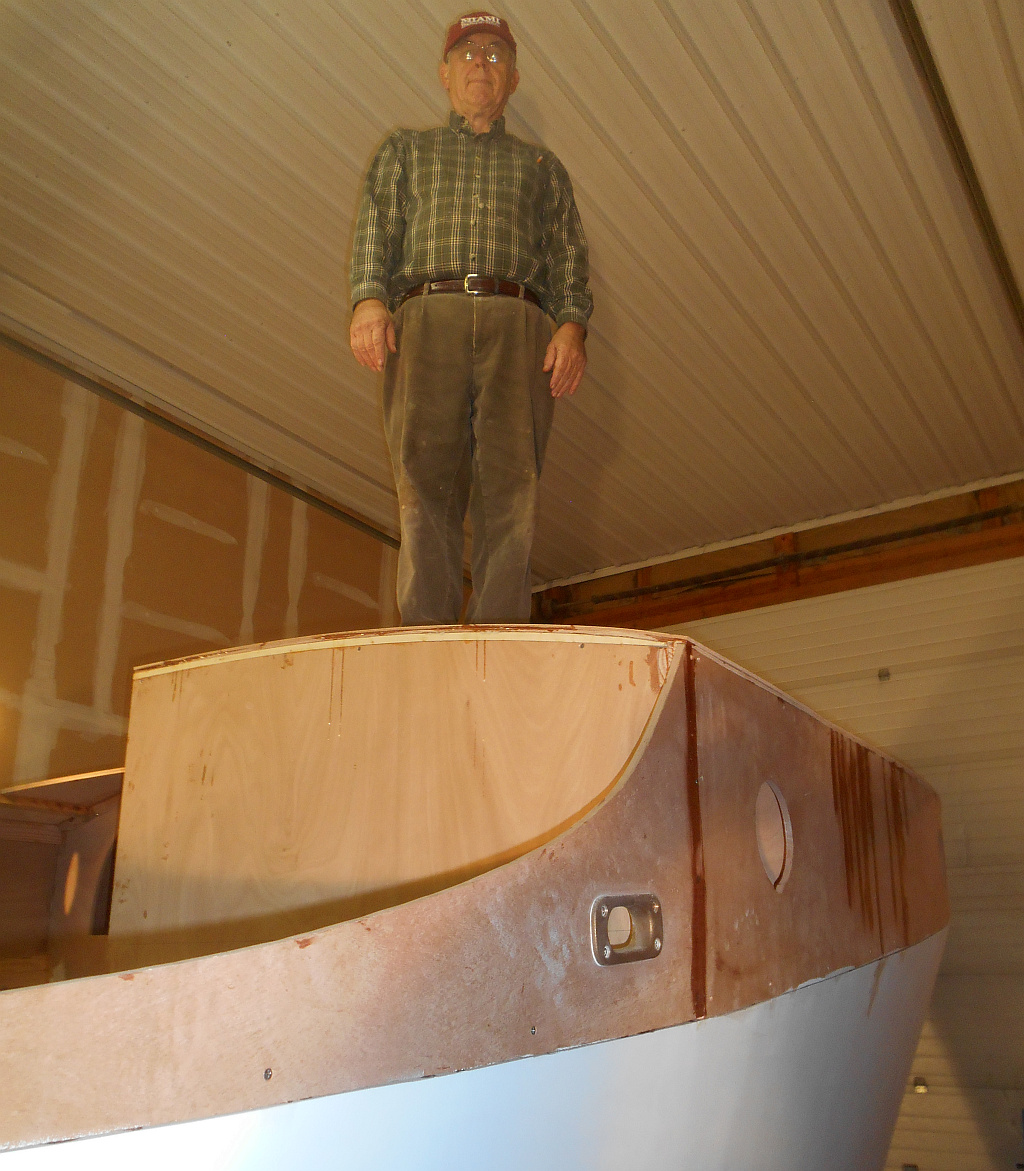
Weight test passed

Down the hatch

New roof from loft


Leave a comment